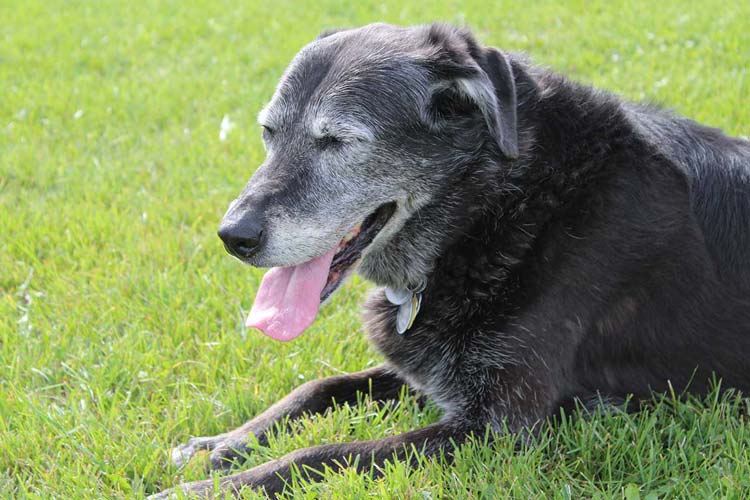
A good grounding in nail anatomy is one of the secrets to a nail trim that doesn’t cause your dog to run away in fear and you to stress out over giving it. Understanding exactly how and where to trim helps to ensure that you don’t “quick” your dog, a painful experience that typically leads to lots of blood and screaming on your dog’s part and nail-biting anxiety on your part because you’ve accidentally hurt your best friend. When that happens, neither of you wants to experience it again, and that means your dog doesn’t get the nail care he needs.
It doesn’t have to be that way. The following will help you become a nail pro.
What to Know About Toenails
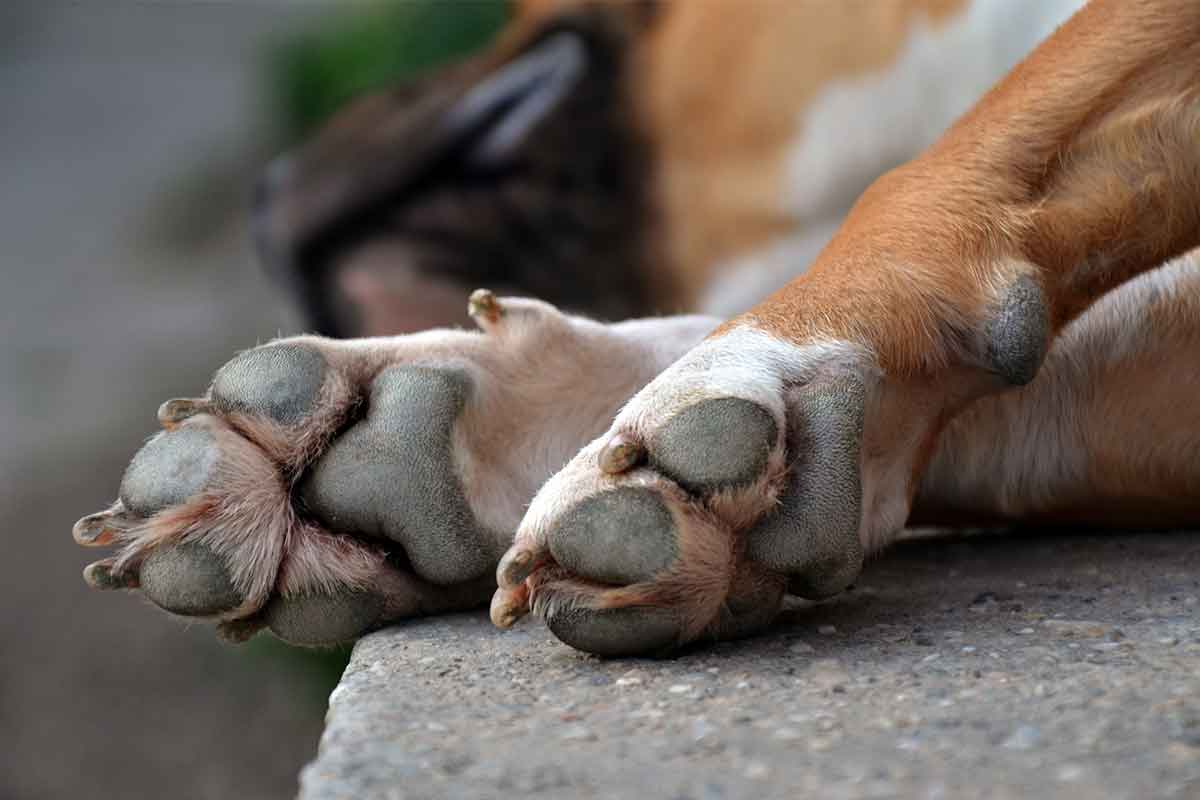
Your dog has a toenail at the end of each toe above the pad, facing forward, four nails on each paw.
Canine toenails are made of a protein called keratin, just like your own nails. A dog’s nails are oval; they are wider at the toe and narrower as they grow out.
Inside each nail is the quick, a highly sensitive bundle of nerves and blood vessels. When cut or injured, it bleeds. If nails are clear, the quick appears pink and the nail growing past the quick is white. If nails are dark, the quick isn’t as obvious. A bit of trivia: if a dog’s paws are white, nails tend to be clear.
Past the quick, the toenails don’t have any nerves and they tend to be less sensitive. When handling your dog’s paws, healthy nails shouldn’t be painful. If you have a puppy, start handling his paws and nails regularly while offering him some special treats. Treats help him to associate the experience as a pleasant one. It doesn’t have to be something that creates fear.
Do The Dewclaws
Some dogs have another toe with a nail on the inside of both front legs, both back legs, or all four legs. These toes are located at what we might call the wrist or, on the hind legs, the ankle.
These toes and nails, called dewclaws, are much like a thumb. Tightly attached dewclaws tend to be functional. Dogs with these dewclaws will sometimes use them like a thumb; an aid in holding toys or chews. Other dewclaws are loosely attached and they may be nonfunctional.
Dewclaws need to be trimmed more often than other nails because they rarely touch the ground and so don’t wear down. When untrimmed, they grow in a curve and can touch (or actually penetrate) the dog’s leg, causing a painful wound.
Not all dogs are born with dewclaws, and some breeders have dewclaws removed when puppies are young. A few breeds, such as Beaucerons, Briards, and Great Pyrenees, are known for having multiple dewclaws.
When And Why To Trim Nails
Generally, your dog’s nails shouldn’t touch the ground when he’s standing upright on all four feet. There is no hard and fast rule as to how far from the floor those nails should be; it varies from dog to dog. If the nails click on the floor, they are usually too long. What’s wrong with that?
If nails are long enough that they touch the floor, they push back against a dog’s toes, putting pressure against the other structures of the paws. If the nails get even longer, the toes can begin to spread apart, deforming the feet.
As paws deform, they become painful. Your dog will be less likely to play, run, or even walk. He’ll also resist when you try to examine or even touch his paws. He can become anxious and worried about his paws.
Those splayed paws are also more prone to injury because the pads are spread apart. Mud balls can form between toes and pads during wet weather, and snow and ice balls will form in winter weather. Mud balls are annoying, but snow and ice balls are dangerous. Besides being painful, frostbite can be a problem.
How To Trim
The goal in trimming toenails is to cut just before the quick, taking off only the sharp point or tip of the nail. Looking at the nail from the side, a nail that is long will often curve downward once past the quick.
With the trimmer in hand, look at one nail, and trim it. Praise your dog and give him a treat. After trimming a few nails on one paw, stop, play with your dog, and take a deep breath. Repeat and you’ve done it! For more details on preparing a puppy or even an older dog for nail trims and the tools to use, see our earlier article here.
Tomorrow you can do another paw. Later, when you and your dog are more experienced at this you’ll be able to do all four paws at one time. Right now, though, one paw at a time is just fine.
This article was reviewed/edited by board-certified veterinary behaviorist Dr. Kenneth Martin and/or veterinary technician specialist in behavior Debbie Martin, LVT.